Setup Seafile with Let's Encrypt
Seafile 是一个开源的文件云存储平台,解决文件集中存储、同步、多平台访问的问题,注重安全和性能。本文介绍了 Seafile 的部署流程。
安装并启动Seafile(CentOS 7)
# Download seafile
→ ~ $ mkdir seafile && cd seafile
→ ~/seafile $ wget http://seafile-downloads.oss-cn-shanghai.aliyuncs.com/seafile-server_6.0.8_x86-64.tar.gz
→ ~/seafile $ tar -xmf seafile-server_6.0.8_x86-64.tar.gz
→ ~/seafile $ cd seafile-server-6.0.8/
→ ~/seafile/seafile-server-6.0.8 $

# Install Mysql
→ ~ $ sudo yum install mariadb-server
→ ~ $ sudo yum install python-setuptools python-imaging python-ldap MySQL-python python-memcached python-urllib3
→ ~ $ sudo systemctl enable mariadb
→ ~ $ sudo systemctl start mariadb
# Set Mysql Password
→ ~ $ sudo mysql_secure_installation

# 根据提示来设置Seafile的一些选项
→ ~/seafile/seafile-server-6.0.8 $ ./setup-seafile-mysql.sh
→ ~/seafile/seafile-server-6.0.8 $ cd ../conf

# 在该目录下可以修改一系列配置
→ ~/seafile/conf $

# 启动 Seafile
→ ~/seafile/seafile-server-6.0.8 $ ./seafile.sh start
# 启动 Seahub,提供网站支持,这一步会设置管理员用户
→ ~/seafile/seafile-server-6.0.8 $ ./seahub.sh start <port>
设置域名解析就可以通过相应的域名来访问了。
Elegant Https
数据安全性在企业中非常重要,从Seafile的官方文档看,它不支持程序自身的HTTPS设置,因此需要借助Apache或Nignx。本文介绍Nginx和Let’s Encrypt来获取数据的安全性。
获取Let’s Encrypt证书
# Nginx设置webroot目录,certbot需要
server {
    listen      80;
    server_name infra.cc;

    location '/.well-known/acme-challenge' {
        default_type "text/plain";
        root /opt/seafile;
    }
}
然后运行 certbot 命令来获取证书:
# 安装certbot
→ ~ $ sudo yum install epel-release
→ ~ $ sudo yum install certbot
→ ~ $ sudo nginx -s reload
→ ~ $ sudo certbot certonly --webroot -w /opt/seafile/ -d infra.cc -d www.infra.cc
IMPORTANT NOTES:
- Congratulations! Your certificate and chain have been saved at
  /etc/letsencrypt/live/infra.cc/fullchain.pem. Your cert will expire
  on 2017-05-24. To obtain a new or tweaked version of this
  certificate in the future, simply run certbot again. To
  non-interactively renew *all* of your certificates, run "certbot
  renew"
- If you like Certbot, please consider supporting our work by:

  Donating to ISRG / Let's Encrypt:   https://letsencrypt.org/donate
  Donating to EFF:                    https://eff.org/donate-le

→ ~ $ ls /etc/letsencrypt/live/infra.cc/
cert.pem  chain.pem  fullchain.pem  privkey.pem
从上面的输出可以看出证书已经生成,接下来配置Nginx:
server {
    listen       80;
    server_name  infra.cc;
    rewrite ^ https://$http_host$request_uri? permanent;    #强制将http重定向到https
}

server {
    listen 443;
    ssl on;
    ssl_certificate /etc/letsencrypt/live/infra.cc/fullchain.pem;
    ssl_certificate_key /etc/letsencrypt/live/infra.cc/privkey.pem;
    server_name infra.cc;
    location / {
        fastcgi_pass 127.0.0.1:8000;
        fastcgi_param   SCRIPT_FILENAME     $document_root$fastcgi_script_name;
        fastcgi_param   PATH_INFO           $fastcgi_script_name;

        fastcgi_param   SERVER_PROTOCOL     $server_protocol;
        fastcgi_param   QUERY_STRING        $query_string;
        fastcgi_param   REQUEST_METHOD      $request_method;
        fastcgi_param   CONTENT_TYPE        $content_type;
        fastcgi_param   CONTENT_LENGTH      $content_length;
        fastcgi_param   SERVER_ADDR         $server_addr;
        fastcgi_param   SERVER_PORT         $server_port;
        fastcgi_param   SERVER_NAME         $server_name;
        fastcgi_param   HTTPS               on;
        fastcgi_param   HTTP_SCHEME         https;

        access_log      /var/log/nginx/seahub.access.log;
        error_log       /var/log/nginx/seahub.error.log;
    }

    location /seafhttp {
        rewrite ^/seafhttp(.*)$ $1 break;
        proxy_pass http://127.0.0.1:8082;
        # Nginx 默认设置 "client_max_body_size" 为 1M,设为 0 以禁用此功能
        client_max_body_size 0;
        proxy_connect_timeout  36000s;
        proxy_read_timeout  36000s;
        # 默认情况下 Nginx 会把整个文件存在一个临时文件中,然后发给上游服务器
        # 如下设置关闭请求缓存
        proxy_request_buffering off;
    }

    location /media {
        root /opt/seafile/seafile-server-latest/seahub;
    }

    location '/.well-known/acme-challenge' {
        default_type "text/plain";
        root /opt/seafile;
    }

    #error_page  404              /404.html;

    # redirect server error pages to the static page /50x.html
    #
    error_page   500 502 503 504  /50x.html;
    location = /50x.html {
        root   /usr/share/nginx/html;
    }
}
重新加载Nginx,下面配置Seafile,下面的更新时必须的,否则无法通过Web上传和下载文件。
# /opt/seafile/conf/ccnet.conf
SERVICE_URL = https://infra.cc

# /opt/seafile/conf/seahub_settings.py
# 添加如下一行
FILE_SERVER_ROOT = 'https://infra.cc/seafhttp'
重启Seafile:
→ ~/seafile/seafile-server-6.0.8 $ ./seafile.sh start
→ ~/seafile/seafile-server-6.0.8 $ ./seahub.sh start-fastcgi
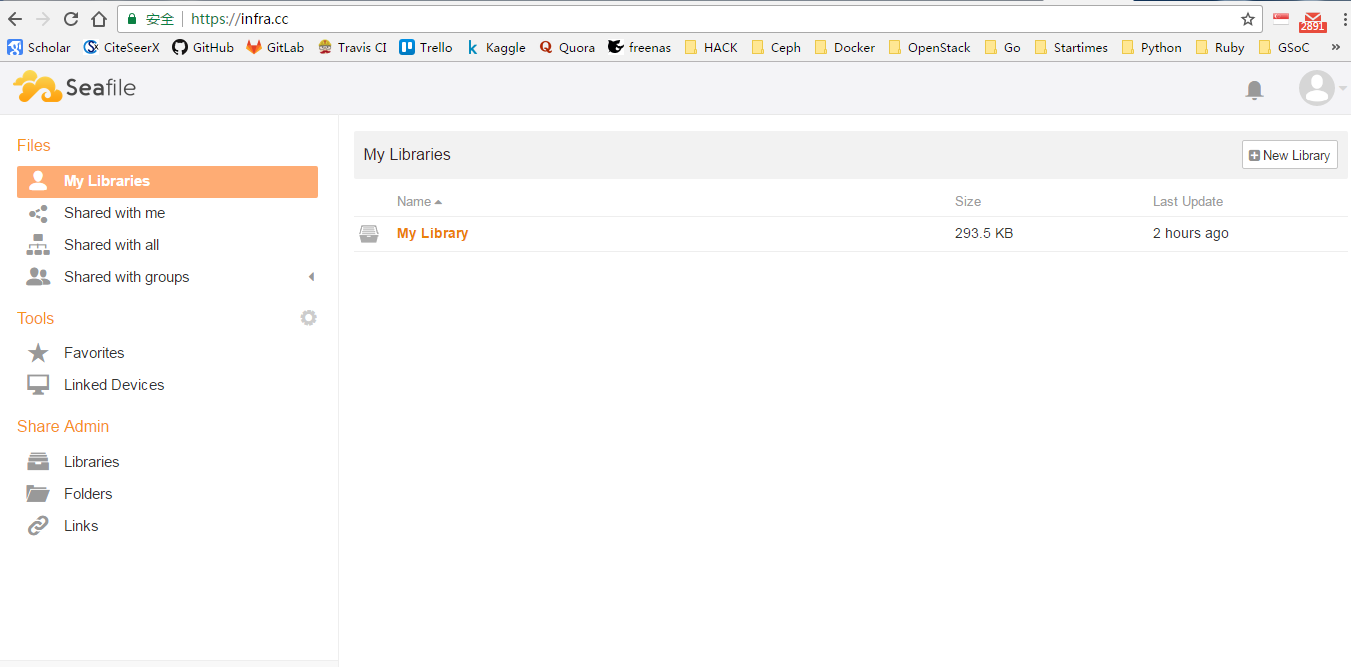
现在访问infra.cc:

Let’s Encrypt自动更新
crontab -e 增加如下任务,certbot会自动与 Let’s Encrypt 服务器通信并检查当前证书是否失效,如果失效则在更新之后触发nginx reload。
# 一天两次,将下面的33和18改为0-59的随机值可以分散ACME-server的负载
33 */12 * * * sleep 18; /bin/certbot renew --quiet --post-hook "nginx -s reload"
Copyright © 2016-Present by 赵军旺